
Getting started
Create your ismee workspace.
For businesses setting up ismee for the first time. You request a workspace, confirm your email, and you're ready to go once it's approved.
Who this is for #
Use this if you're setting ismee up for your organisation. If your company already uses ismee, you don't need to create a workspace — ask an admin to invite you instead (see Inviting users).
Request a workspace #
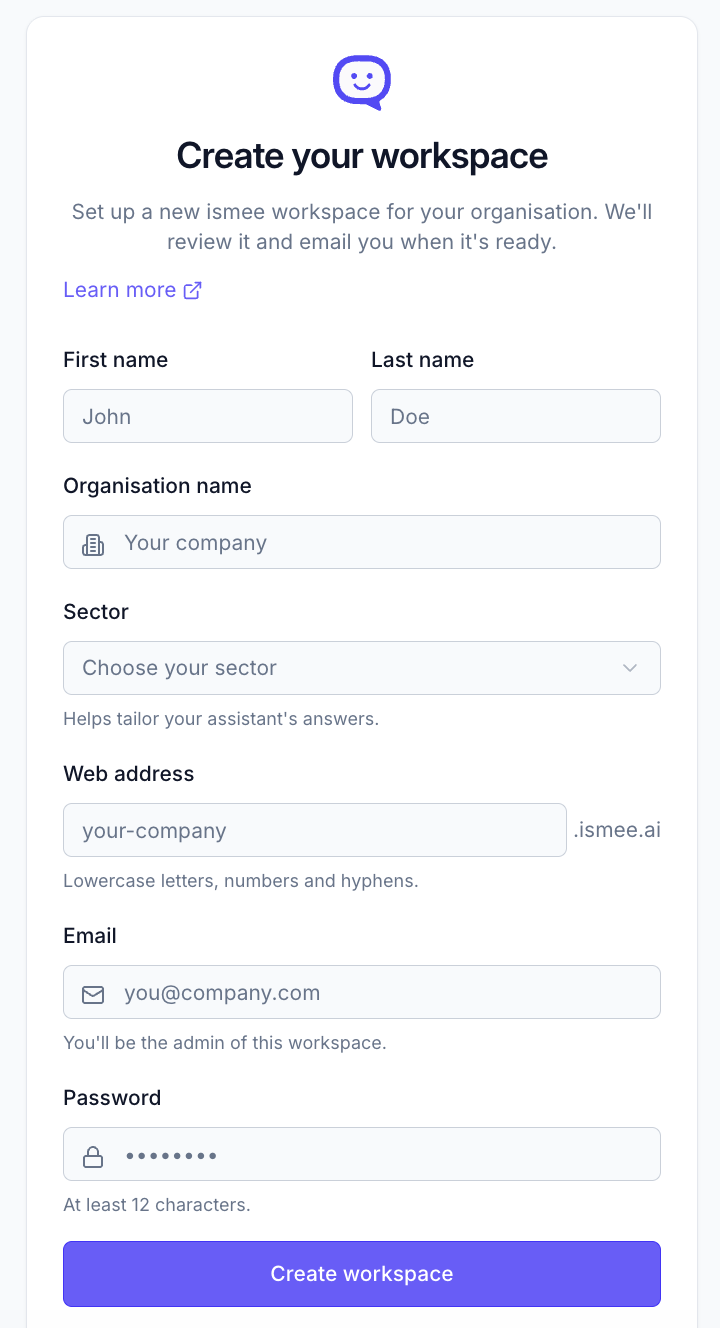
- Go to app.ismee.ai and choose Create a workspace.
- Enter your organisation name, your sector, and your admin details.
- Submit the request.
Verify your email #
- We email you a 6-digit code.
- Enter it to confirm your address.
Any email works. You don't need a work email to create a workspace — a personal address is fine.
Approval #
During the research preview, every new workspace is reviewed before it goes live. After verifying, you'll see an "awaiting approval" screen.
- If approved, we email you a sign-in link and you're ready to go.
- If we can't proceed, we email you with any reason.
How long? Approvals are done by hand during the preview, so there may be a short wait. We'll be in touch by email.
After approval #
- Sign in at app.ismee.ai — it takes you straight to your workspace.
- Follow Getting started to add your knowledge, shape your assistant, invite your team and go live.
What to read next #
- Getting started — set up your assistant in four steps.
- Inviting users — bring your team in.