
Set up your ismee — from first sign-in to going live.
A quick walkthrough for a new admin. In four steps you'll have a working assistant: add your knowledge, shape your assistant, invite your team, and start asking. Around 15 minutes.
Before you begin #
You need a workspace. There are two ways to get one:
- Your organisation already uses ismee? An admin invites you by email — open the link and set your password. (See Inviting users.)
- Setting ismee up for your business? On the sign-in screen choose Create a workspace. You'll confirm your email with a 6-digit code, then your workspace is held for approval. (See Creating a workspace.)
Your first sign-in #
- Sign in at app.ismee.ai — you'll land in your workspace.
- First time in, confirm your email with the one-time code we send.
- A welcome dialog introduces ismee and the four-step path to going live. Take the short guided tour of the menu, or skip it — you can re-run it any time from the account menu → Take a tour.
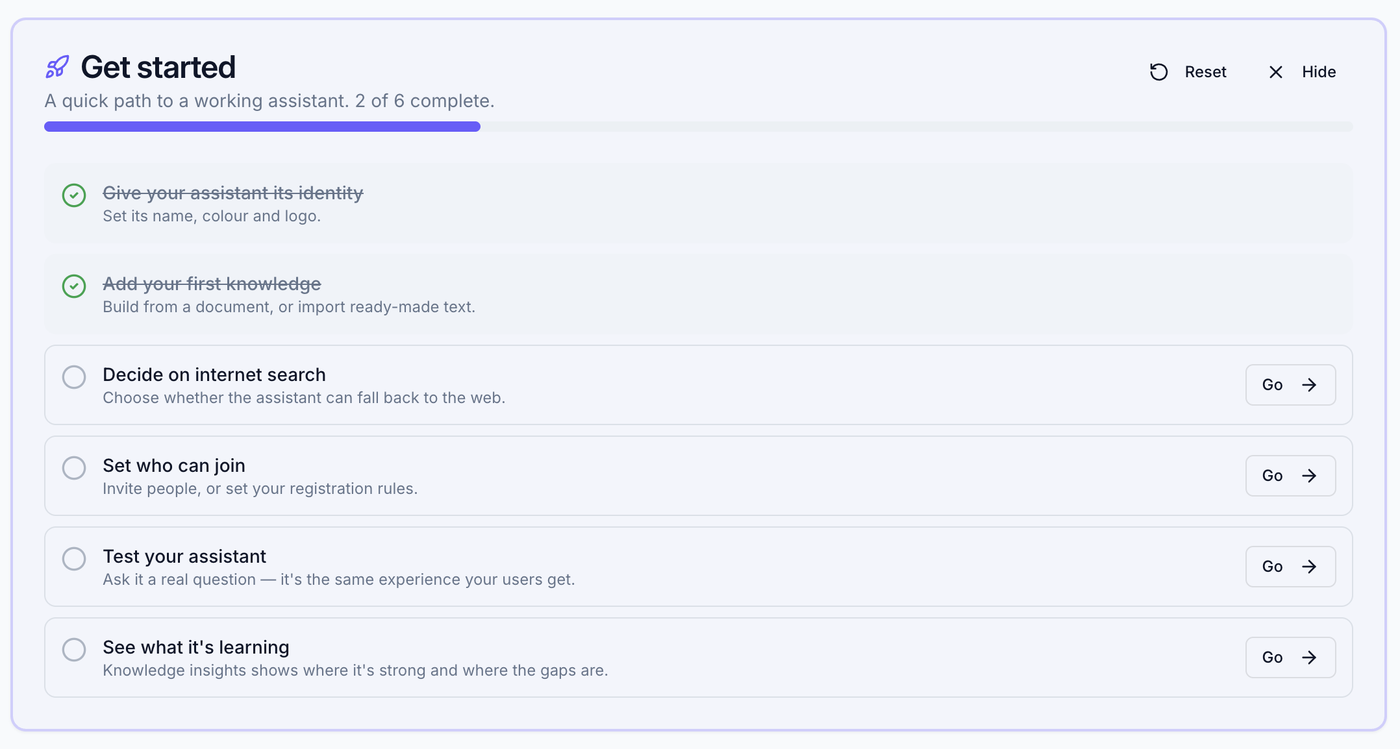
- Your home shows a Get-started checklist that tracks your progress and links straight to each step. It ticks itself off as you go, and you can hide or reopen it from Get started.
The left sidebar is grouped by what you're doing:
Under Your assistant you'll find Assistant, Knowledge and Internet search. Under People & access: Users and Invitations. Under Insights: Analytics, Knowledge insights and the Audit log. Under Workspace: Identity & branding, Registration rules and Workspace settings.
1 · Add your knowledge #
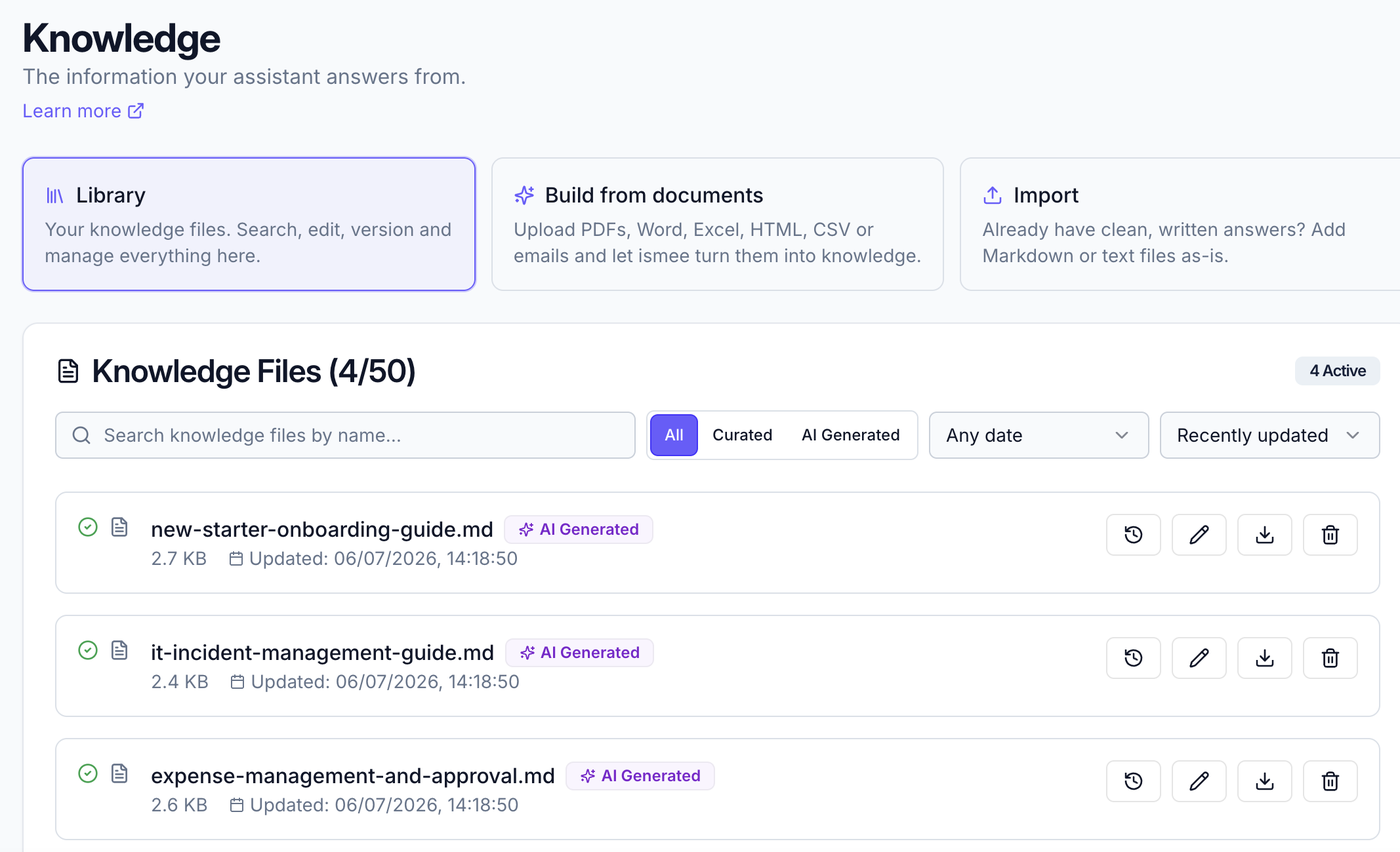
Your assistant only answers from knowledge you give it — so this is the most important step. Go to Your assistant → Knowledge, which has three views:
- Library — your knowledge files (the default view): search, edit, version and manage them.
- Build from documents — upload PDFs, Word, Excel, emails or whole folders and ismee turns them into knowledge.
- Import — add ready-made Markdown or text answers as-is.
- Open Knowledge → Build from documents.
- Drag in what you already have — documents, PDFs, spreadsheets, emails, even whole folders.
- Review what ismee organised; it flags any gaps or conflicts to tidy up.
- Your files then live in the Library, ready to be edited or added to any time.
2 · Shape your assistant #
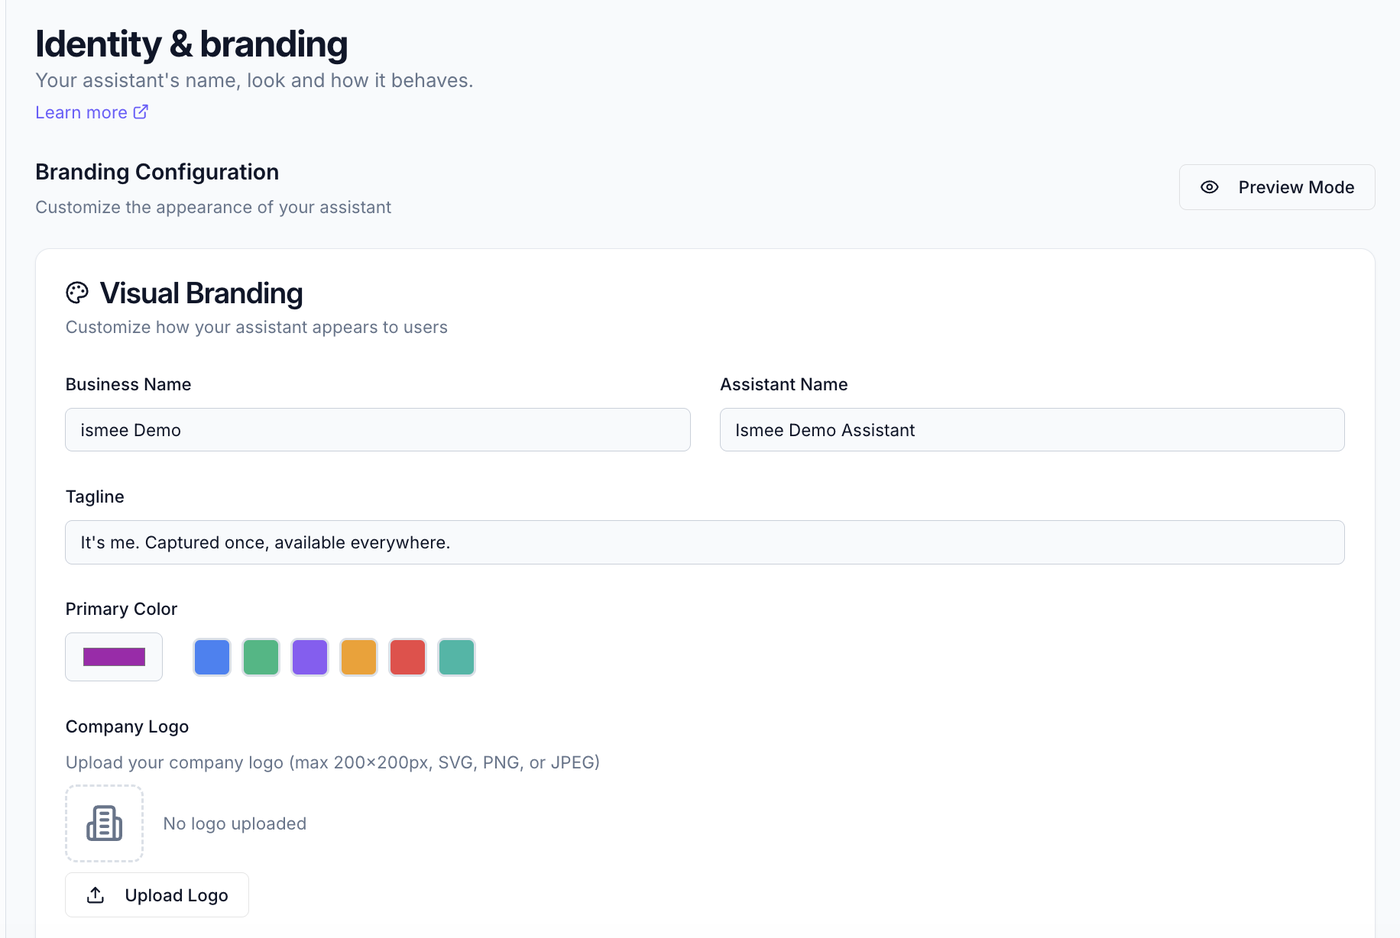
Go to Workspace → Identity & branding to make it sound and feel like your team.
- Give it a name and voice so answers match your tone and ways of working.
- Add up to three starter questions — examples shown on the empty chat so people know what to ask.
- Optionally turn on the Trust tag ("Verified from [Company] sources"), shown on answers grounded in your files. It's off by default, and file names are never shown.
- Apply your brand colour and logo so the chat feels like your own.
3 · Invite your team #
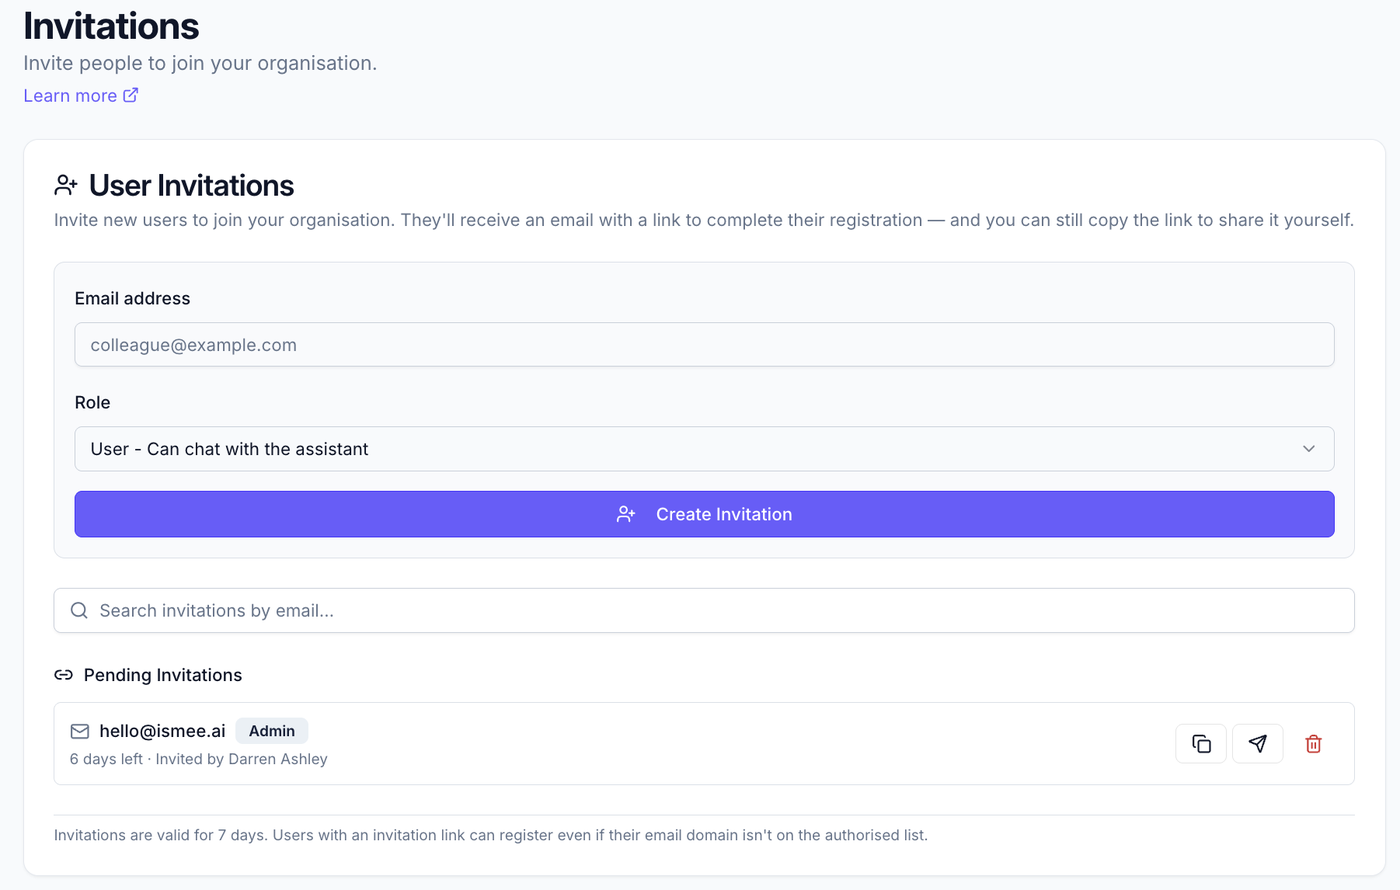
- Go to People & access → Invitations and invite people by email (one or several at once) — they receive a branded join link.
- Set each person's role under Users.
- Control who's allowed to join under Registration rules (authorised domains + email allowlist).
4 · Try it & go live #
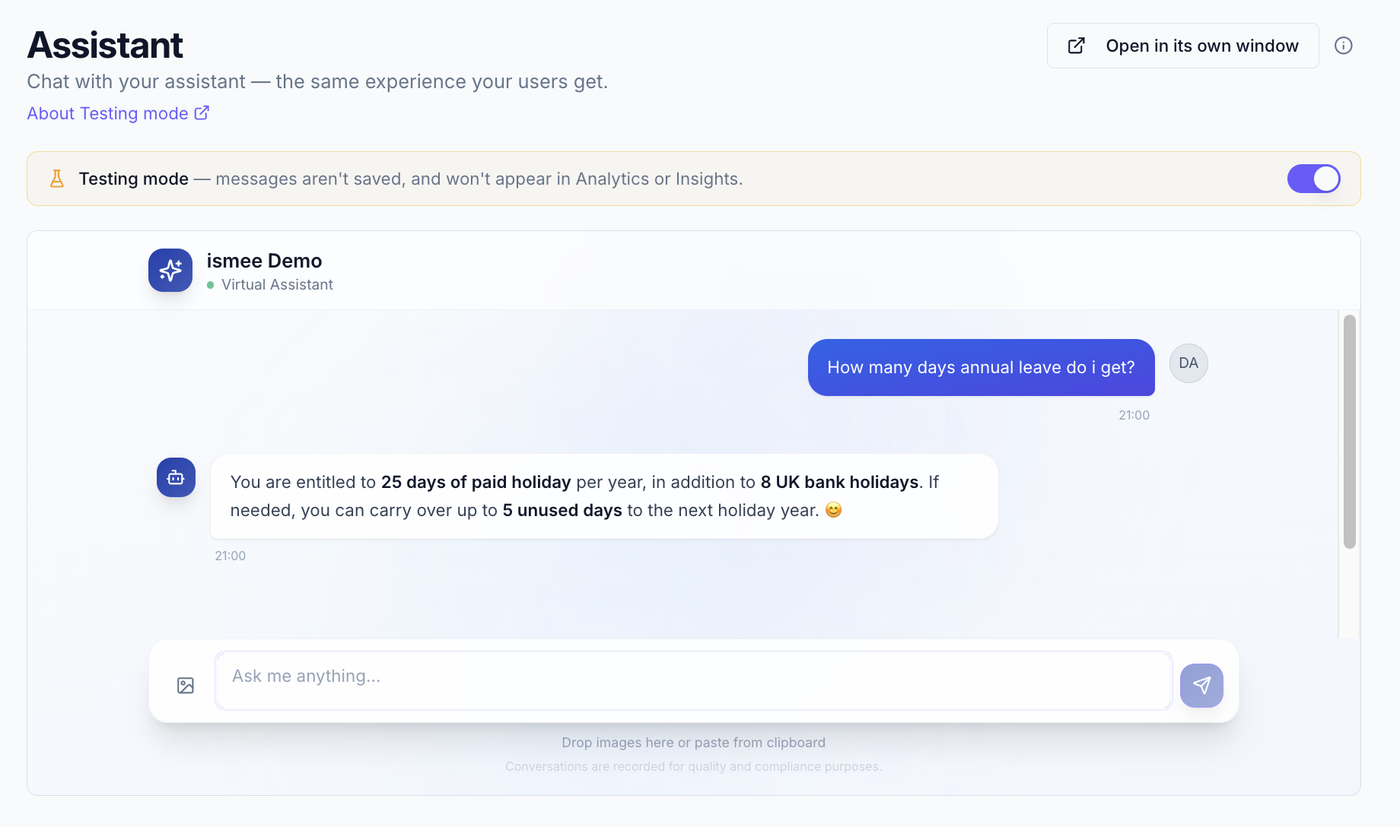
Go to Your assistant → Assistant — this is the same experience your team will get.
- Ask a few real questions and check the answers are grounded in your knowledge.
- Turn on Testing mode (admin-only) so your test messages aren't logged or counted in Analytics and Insights.
- Use "Open in its own window" to try it as a normal user in a clean, full-screen view.
- Happy? Tell your team to sign in at app.ismee.ai and you're live.
Tips #
- Re-run the guided tour any time from the account menu → Take a tour.
- Reopen the Get-started checklist from Get started.
- Testing mode keeps your real data clean while you experiment.
What to read next #
- Adding knowledge — build knowledge from your documents.
- Importing knowledge — add ready-made Markdown or text as-is.
- Identity & branding — voice, starter questions and the trust tag.
- Inviting users — invitations, roles and registration rules.
- Knowledge insights — coverage, gaps and what's being used.